- HTML
- Sass
- JS
- SVG
- OAuth2
- PHP
- jQuery
- GSAP
Aug 21, 2016
Introduction
Virtual reality can immerse you further into a game, but what if, the game could respond more uniquely to you at the same time? What if your real-life physical traits affected your hit and health points, and how much you could carry before being encumbered? (👋🏻 Skyrim)
Could genetic data from the 23andMe API, be used to set up the base stats of a virtual avatar? Then, what if biometric data from the fitbit API could be synced with your avatar so that you could level-up alongside your avatar? Mix in a 3D scan of your body, and you have a virtual doppelgänger ...and potentially a dystopian universe. Nevertheless, this project explored how the 23andMe API could be used to initialize a custom avatar image based on genetic data.
Challenges
123andMe uses OAuth to allow clients to authorize access to genetic data to a third-party. Accordingly, a LAMP (Linux Apache MySQL PHP) backend was set up make RESTful API requests to 23andMe. To get an authorization code, the client is sent to 23andMe's authorization site with each genetic datum requested (the scope) passed as query parameters.
Once the client gives permission, they are redirected to GCTAvatar with an authorization code which is set as a browser cookie with the js-cookie library. The code is then exchanged for an access token which is used to call the 23andMe API endpoints indicated in the scope. For demo purposes, if the user is not genotyped, a mock user endpoint is used. Client-side, these steps are hidden behind a loading animation. Once the 23andMe user data is obtained, a callback function displays the avatar visualization.
2The values of the single nucleotide polymorphisms requested in the scope needed to be transformed into values to generate an image. While single G, C, T, or A base pair mutations predispose someone to certain phenotypes (blue, green or brown eyes, for example), they do not guarantee them. A lot depends on pure chance and a person's ancestry, the latter of which was not something I could account for. I opted for a naive interpretation: given a certain mutation, what was the percent likelihood of a particular phenotype? Then I generated a random number and saw if it fell within that range and set the predicted result to a user model object (Snippet 1).
usermodel = {
  sex: "female",
  fullname: "Lilly Mendel",
  eyecolor: "blue",
  freckles: "few",
  eyesight: "wears glasses",
  haircolor: "brown",
  neanderthalness: "normal"
};Snippet 1. User mode object
The user model object was then used an input value to a subsequent animation model function which returned another object with values used to set up the animation (Snippet 2). The animation model function maps user model inputs to animation value outputs with a hash map.
animationmodel = {
  sex: "female",
  eyecolor: {hue: "#916b66", spin: -172},
  eyedialatormuscle: "#D6B08C",
  freckles: 0,
  glasses: false,
  haircolor: "#916b66",
  neanderthal: {scale: 1, stroke: 7}
};Snippet 2. Animation model object
3How to turn genetic data into a visualization? One option is to pre-render all possible visual outcomes to sprite sheets and write logic to composite an image from the different sprites (face shape, eyes, glasses and so on). I decided on a more flexible approach of using a SVG image as a base and setting the SVG attributes with javascript. To accomplish this I use the GSAP library to apply and animate SVG fill and stroke properties.
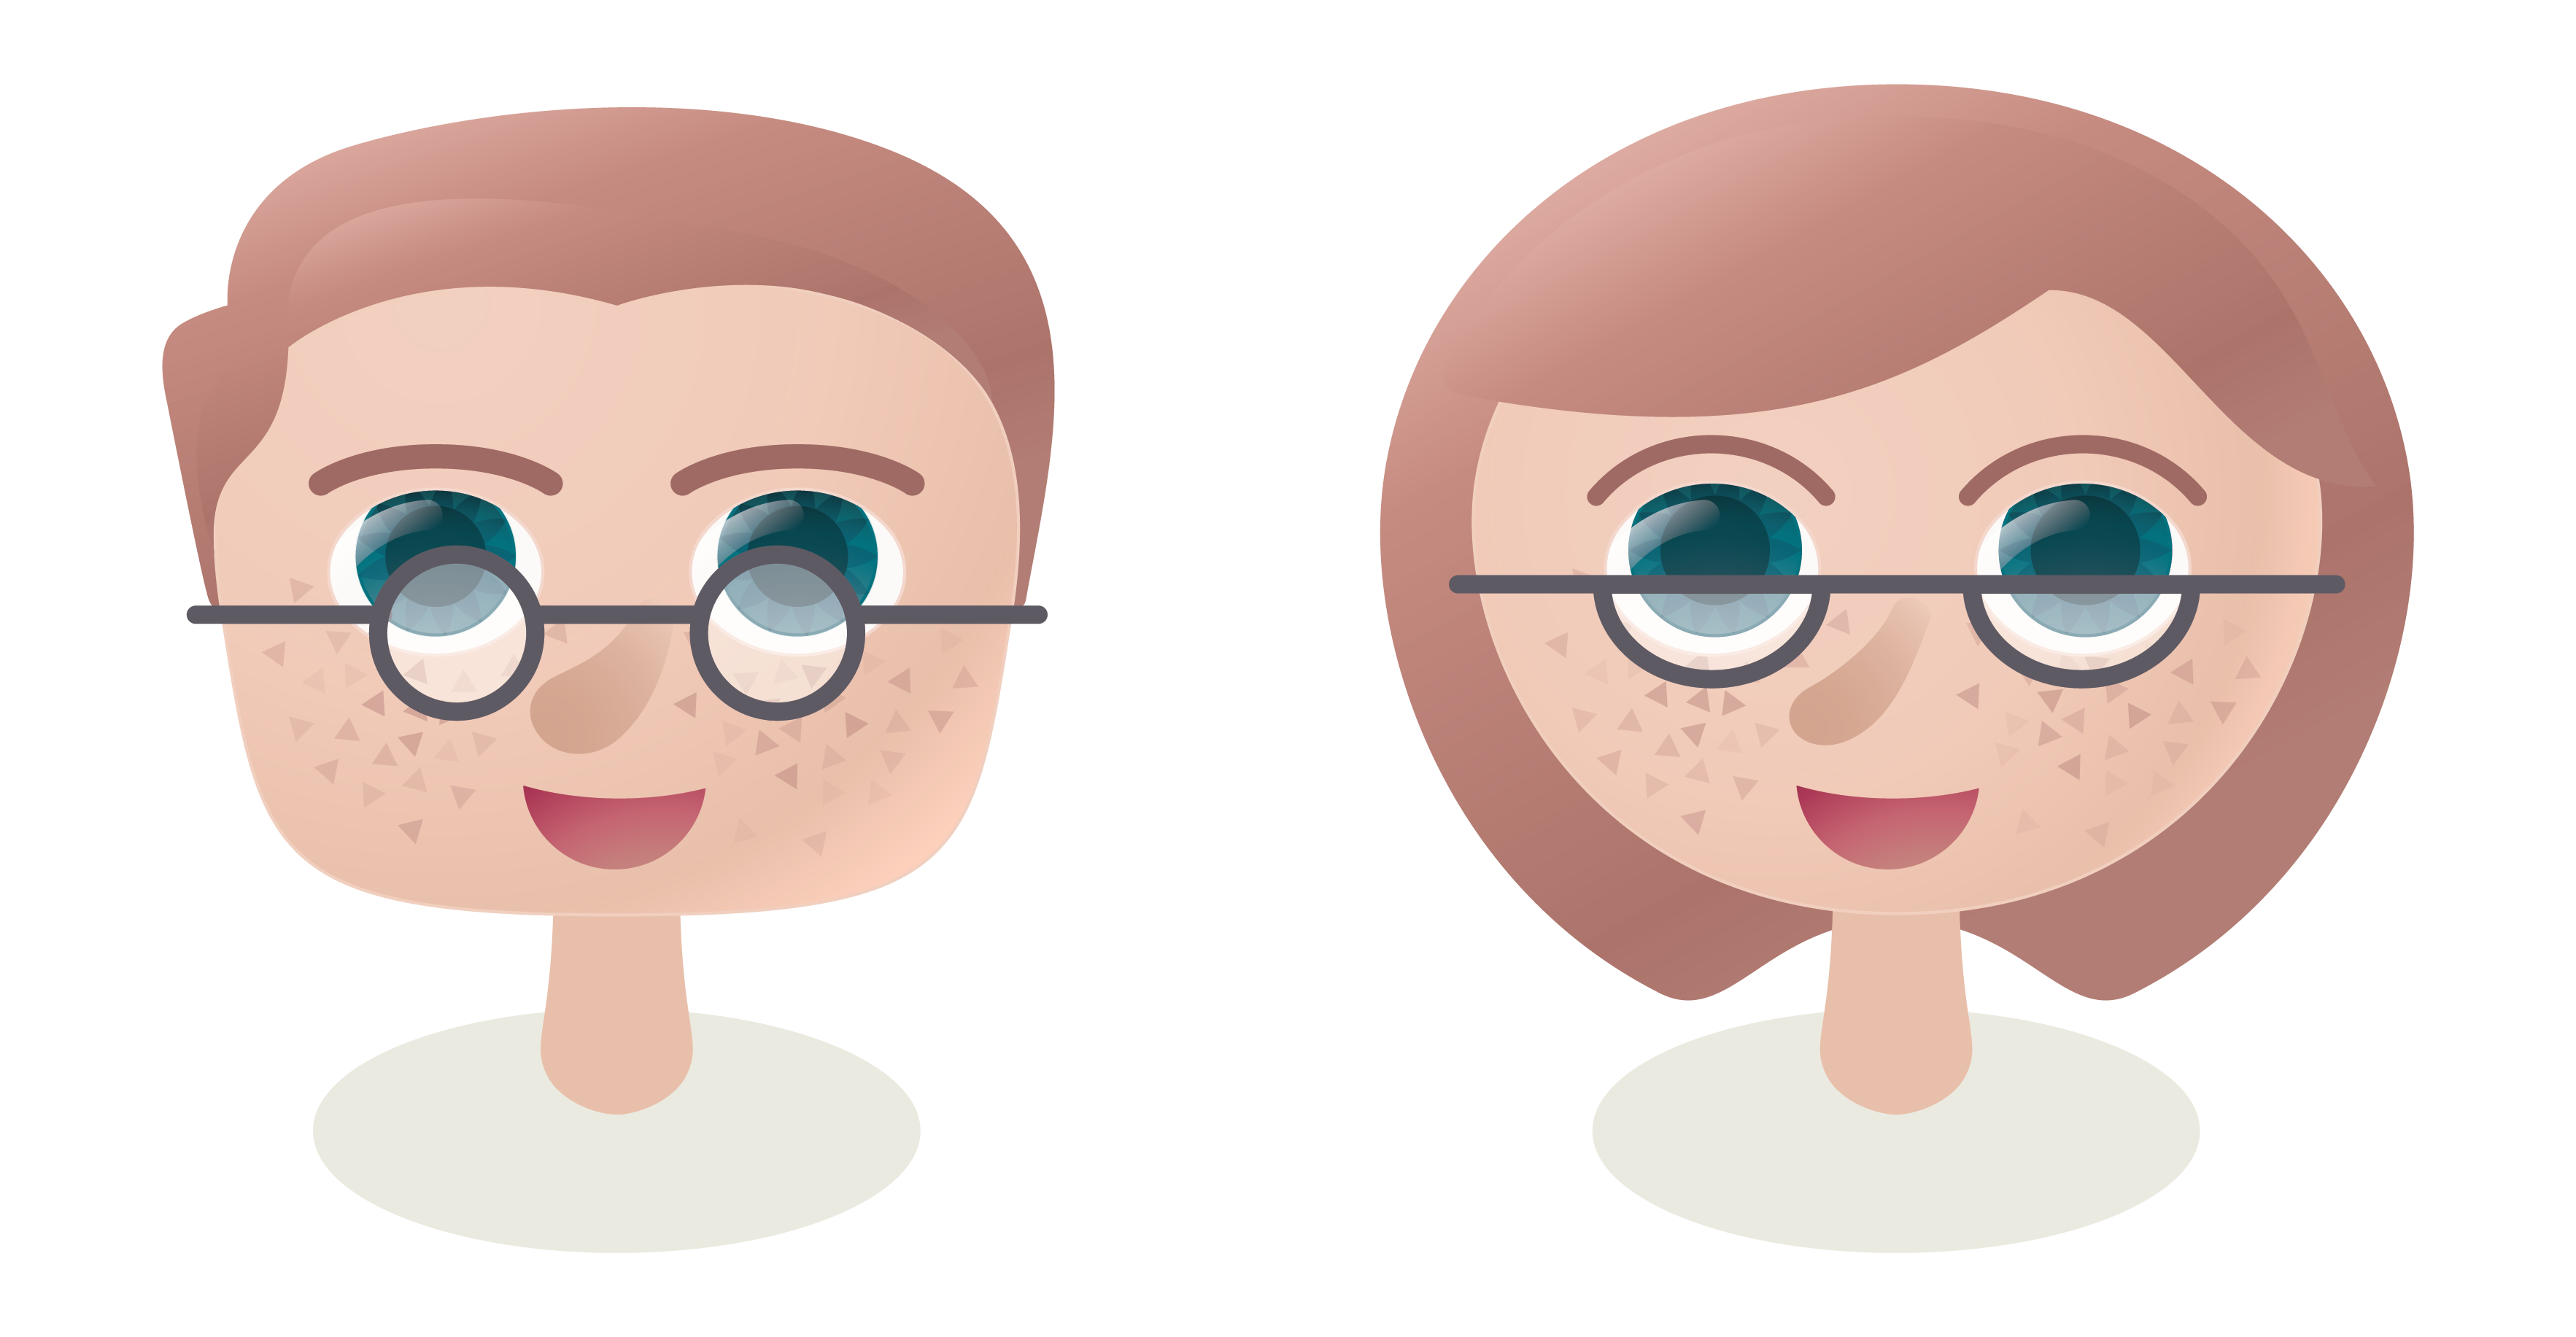
I first created the base female and male SVG images in Illustrator (Figure 1), being careful to avoid effects such as drop shadows that cannot be exported as a SVG filter effects. I then followed the general pattern for SVG animation using GSAP from Petr Tichy's courses and the Greensock website. Create modules made it easier to edit and organize the animation timelines. My approach was to
- Breakdown a complex animation into individual child timelines.
- Create a parent timeline and add child timelines to it (Snippet 3).
- To create a child timeline (Snippet 4), first save references to each SVG element to be animated within the function scope. Second, create a timeline instance and add tweens or animation steps to it. Finally, return the timeline.
function setMainTl(animodel) {
  mainTl = new TimelineMax();
  mainTl
    .add(animSex(animodel))
    .add(animEyes(animodel))
    .add(animGlasses(animodel))
    .add(animHaircolor(animodel))
    .add(animFreckles(animodel))
    .add(animNeanderthal(animodel));
}Snippet 3. Example parent timeline
function animNeanderthal(animodel) {
  var eyebrows = $('#eyebrow path, #eyebrow-2 path'),
      nose = $('#nose path');

  var neanderTl = new TimelineMax();
  neanderTl
    .to(eyebrows, 0.8, {attr: {'stroke-width': animodel.neanderthal.stroke}})
    .to(nose, 0.8, {transformOrigin:'right top', scale: animodel.neanderthal.scale});
  return neanderTl;
}Snippet 4. Example child timeline
Addendum
Here are the wireframes used to plan the app UI:

The colour theme was eventually taken from madebyfieldwork. Layout wireframe made in Sketch (Figure 2). "Cabin" and "Cabin Sketch" fonts from Google Fonts.